How To Create An Invisible Seam
- Posted on: 2022-06-13
- |
- Views: 1061
- |
- Category:
- ▸ How-To's
***Originally published on May 11, 2012***
Okay, so you’ve finished knitting that beautiful, cozy, time-consuming sweater. Aren’t you proud? Aren’t you psyched?? Don’t you want to try it on this minute and wear it all around town and show it off? Oh…wait…it’s in five different pieces? Hmm…maybe it would be best to just stick it back in the knitting bag and come back to it a little later…
You’re not alone. Seaming your projects together after all the actual knitting has been done is often the bane of our existence. After all, it’s the knitting that you love, not hand-sewing, right?
Well, unless you commit yourself exclusively to top-down, worked-in-the-round garments, this final step of finishing a long-term project may be unavoidable. BUT, knowing how to seam your work together properly could be the crucial factor in deciding how you feel about your project after it’s finished.
So, let’s take a little crash course in seaming, shall we? For the sake of this tutorial, we’re going to assume you have to pieces of stockinette fabric that you’re wanting to join together — in my case, it’s the front and the back of the Drape Front Sweater that I’ve been working on.
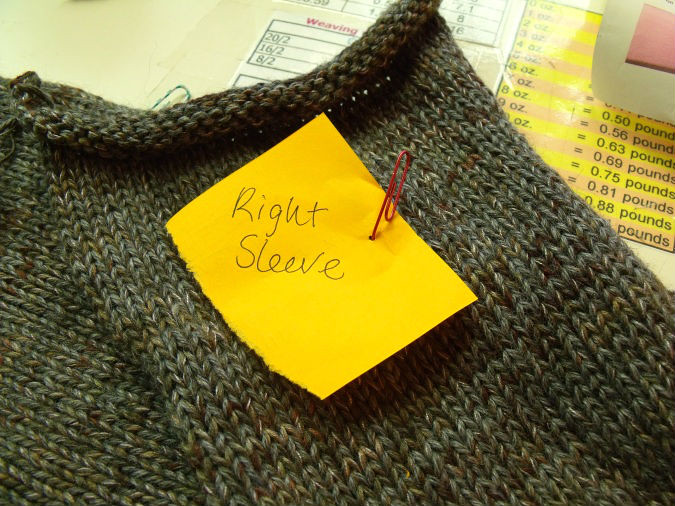
If you’re lucky like me, the pattern that you’re working from will have clearly labeled what part of the garment each section is. It may seem obvious at the beginning, but after working on a project for four months, you may just be blindly following instructions at this point, and not even remembering what’s up and what’s down.
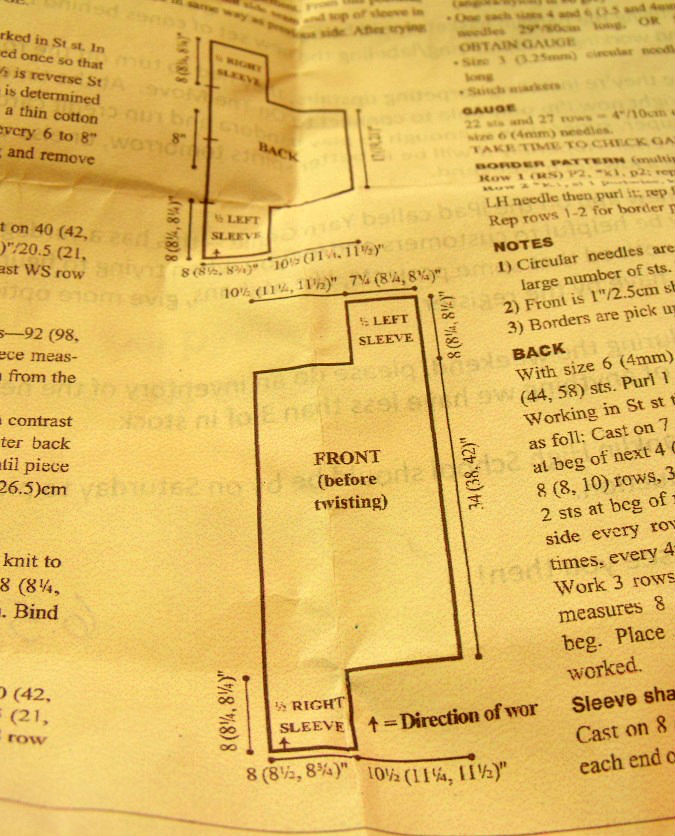
This is a great time to look at your finished pieces, and clearly label them so that you know you’re matching up the right parts of your work, and not seaming them together inside-out or top-to-bottom or something devastatingly crazy.
Now, if the piece you’re seaming is quite a few inches long, match up the sides as evenly as you can, pinning the two pieces together every inch or two. I usually use safety pins for this, but I was in a pinch here, so I used some marking pins instead. Remember, you’re lining these pieces of fabric out so that the right side of each piece is facing the outside, and the wrong sides are pressed together on the inside of the work.

Thread some matching yarn through your tapestry needle, and begin by grounding this yarn in one of the corners. Starting at the right-hand side, pull the needle through both pieces of the fabric, pinched together, right at the corner. Leave a few inches of tail still dangling in front of the work, to be woven in later.

Then, bring the needle through just the front piece of fabric, from back to front.

This will keep your sewing yarn secure so you can pull tightly with each stitch.
Now, grab the piece of fabric in back, and look at the V’s right near
the edge, where your pins are. If you pull these apart, you’ll see
little bars in between each of the V’s. Take your tapestry needle, and
stick it under two of these bars at a time, then pull the yarn through.
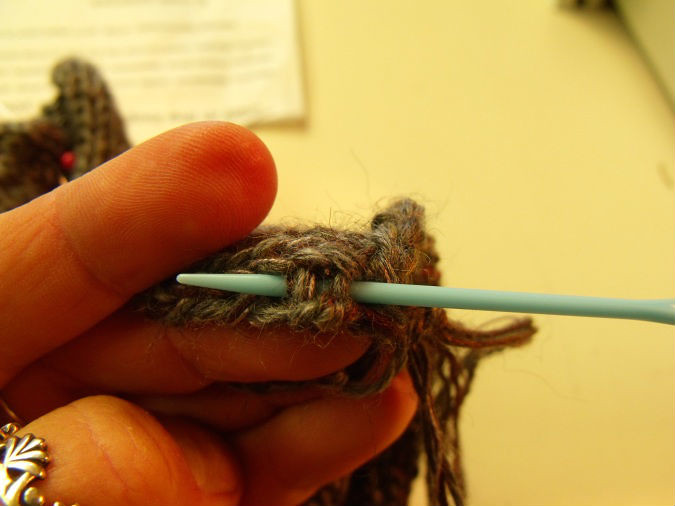
Often it’s easier to see these bars when you’re one stitch away from the very edge of your work.
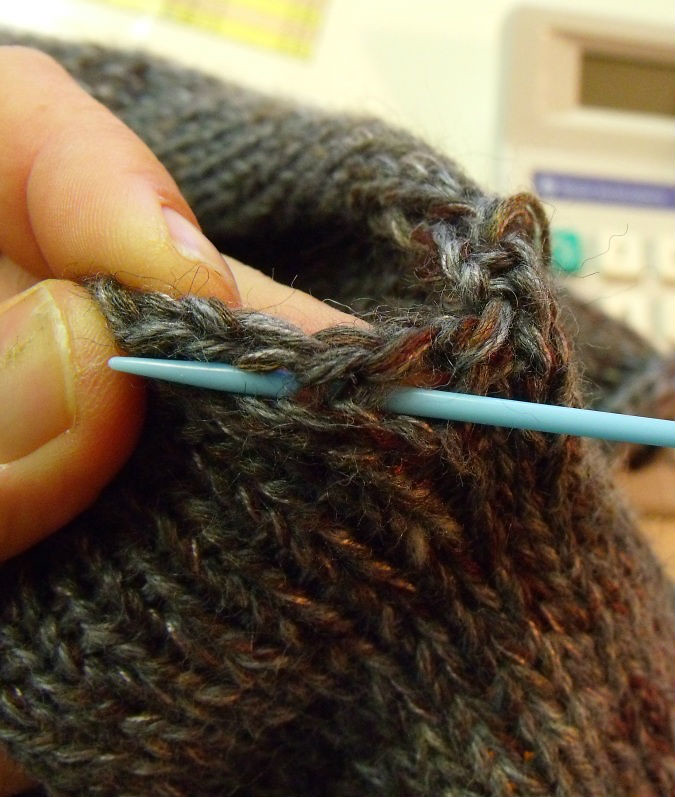
As you approach each of your marking pins, double check and make sure both sides of the fabric are being used up at an equal rate. Hopefully, it will look something like this.
But, if instead it looks something like this, there’s a pretty easy fix.
Instead of working beneath two of those bars on either side, only work one on the side that is more taught, while continuing to work two on the side that is gappier until both sides look even again. As you approach each pin, remove it and focus on keeping your work even until just the next one. Working in small steps like this ensures that the stitches on both pieces will come together evenly, without having to focus on the entire width of the piece at once.
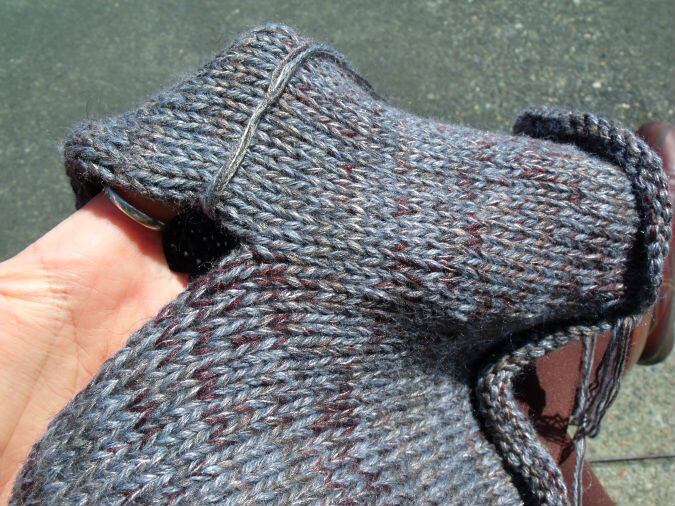
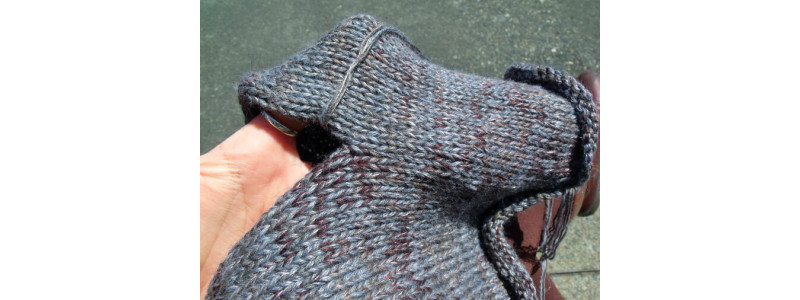
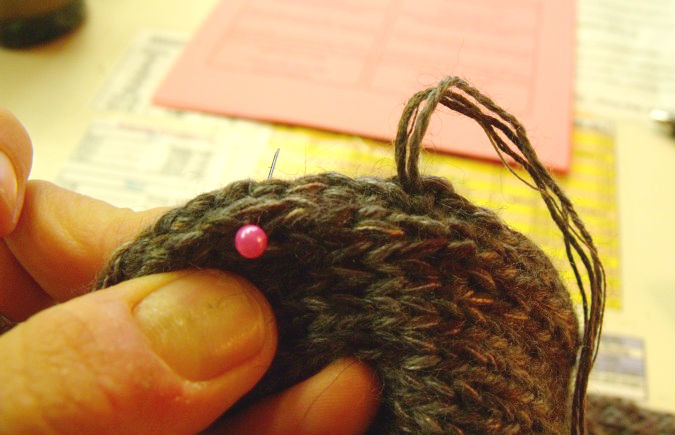
The backside of your work will have a nice, straight seam where the two
pieces are joined (perfect for hiding those ends you’ll have to weave in
later!).
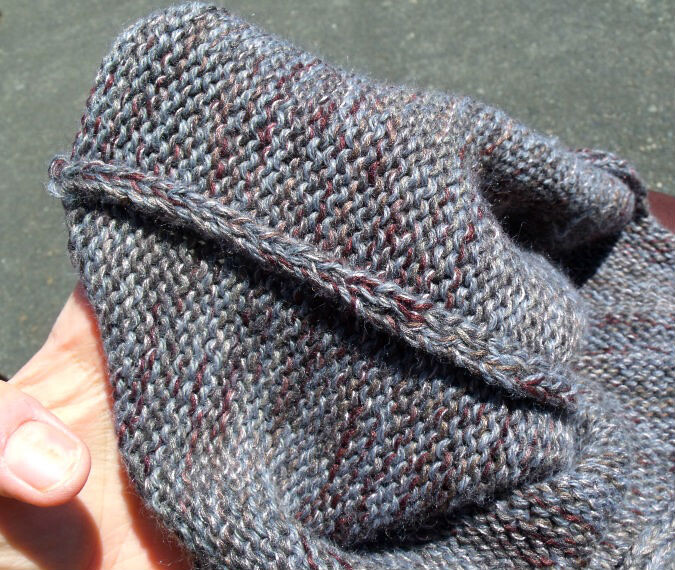
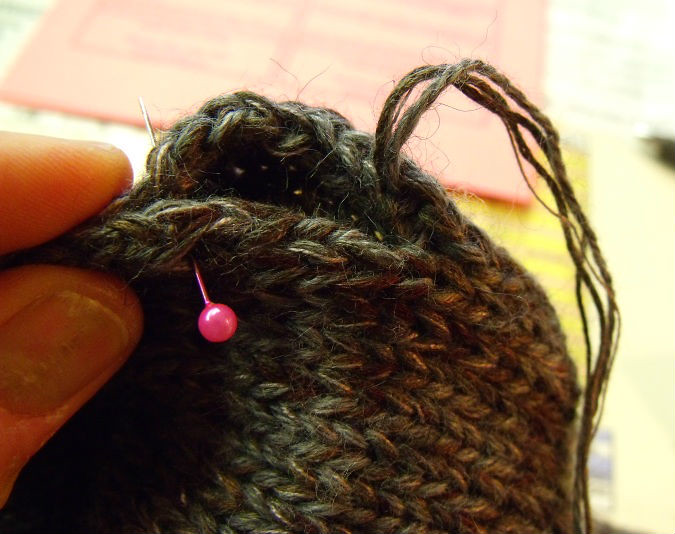
But, notice how clean the front of the work looks. No seam at all!