How to Make String Art Signs
- Administrator
- |
- Posted on: 2020-05-12
- |
- Views: 6910
- |
- Category:
- ▸ DIY Projects
Originally Published: August 29, 2014
It’s not too often that I undertake a crafty project completely unrelated to knitting or crocheting, but when I saw Yarnia‘s recent move as an opportunity to revamp and redecorate the shop, I knew I wanted some really killer signs for our ingredient yarn shelves — something “industrial-chic,” to complement the elegant pipe shelving that Jesse and Nate had built for me. Yarn would be the obvious medium, but I wanted to mix it up from just predictable knit or crochet.
Then I remembered this guy:
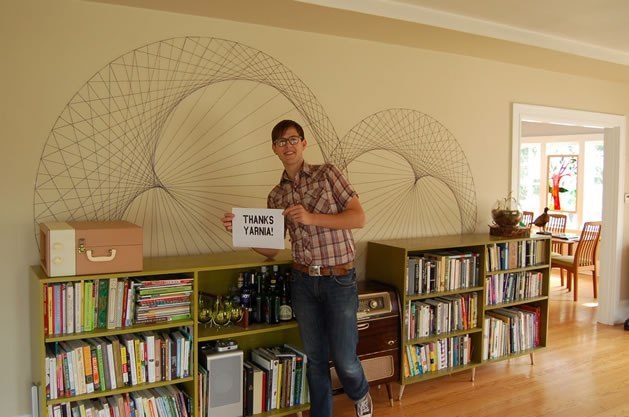
One of our customers, who used yarn to make awesome string art for his walls!
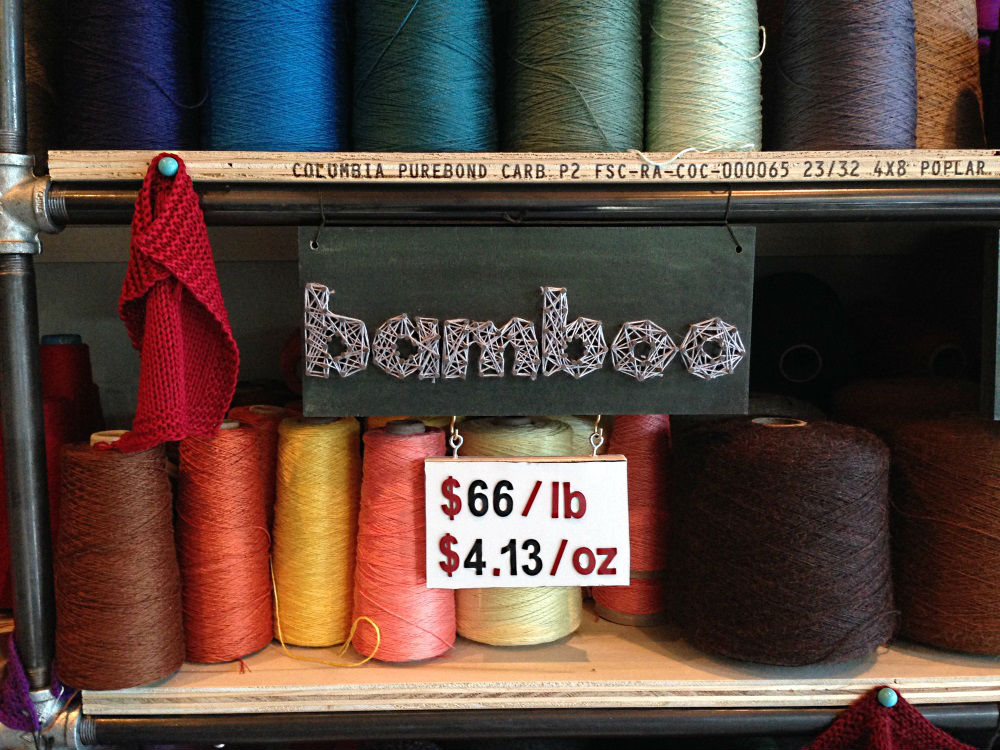
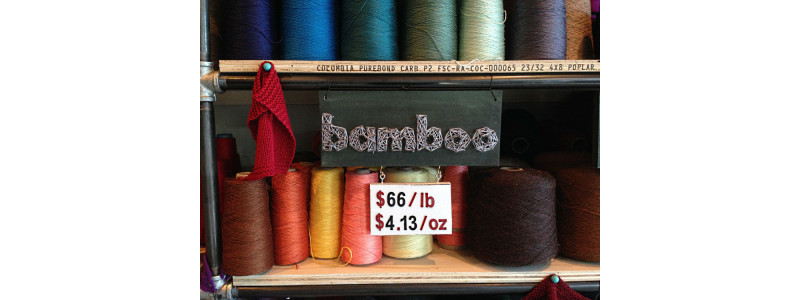
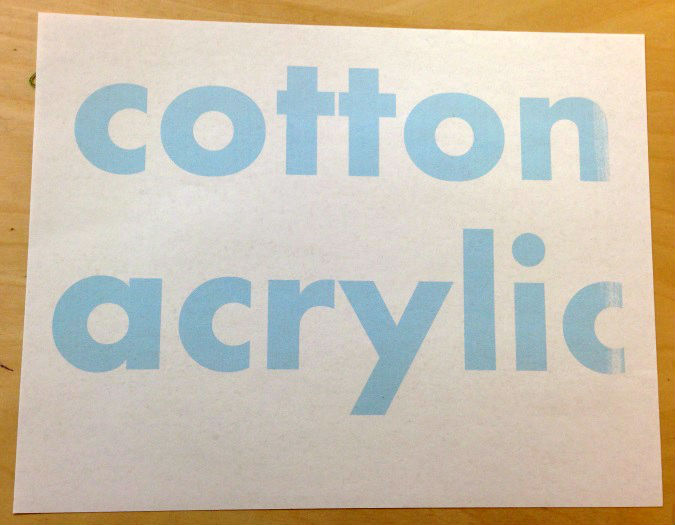
So, I got to work. I thought about the main ingredient yarns we feature, and came up with 12 that I wanted to make signs for, to show customers where they can find each one on our big wall of yarn: Wool, Cotton, Bamboo, Linen, Rayon, Mohair, Acrylic, Merino, Cashmere, Alpaca, Silk, and Seasonal. So I cut 12 pieces of plywood, each a foot long, and spent a few days staining those out on our deck.
I knew I wanted all 12 of the signs to look as similar as possible — aside from each being spelled out with a different color yarn — so I played around with some different fonts on my computer, that I’d use as the outline to “trace” with nails. I chose this one, because I could tell it would grow and shrink well (to accommodate the longer words like “seasonal,” which I had to fit into the same 12″ width as “wool”), because it seemed to have a lot of “surface area,” meaning the body of the letters would be visible from across the room, and because it’s cute!
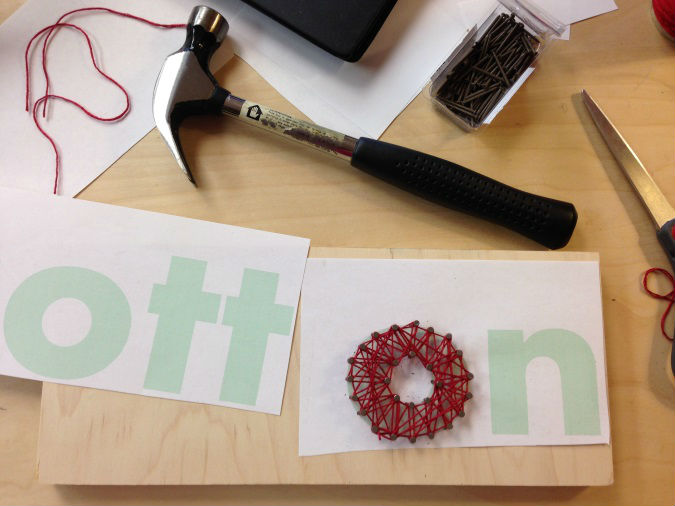
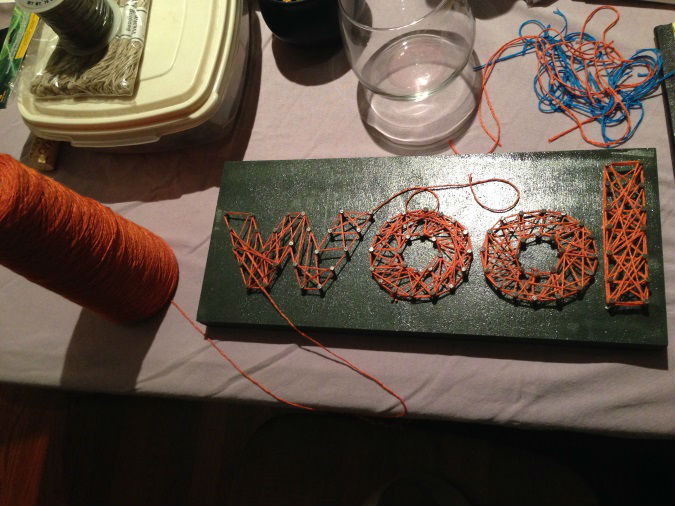
I did a test on one of my unstained scrap boards, to see how this would work out. Using paneling nails, I carefully outlined the “O” using the same technique you would if slicing a pie: first two nails on opposite sides of the diameter. Then two more, 90 degrees over from the first pair. Then two more at the midpoint between the first two pairs, and so on, until the two concentric circles looked sufficiently filled in.
I was pretty happy with this prototype, so I pushed on!
I took my first word, “Merino,” and taped the printout to the stained board. Then, working from right to left, I went to town with the nails.

Pitfalls at the beginning included trying to hammer the nails in too far (for me, a good 7 strikes on each head set them in at a perfect height), and letting myself get “trapped,” by doing the entire outside circle of the “O” before moving on to the inside, for example. (Oh, and be sure to put a sturdy book that you don’t care about underneath. Plywood boards seem thick, but they’re not as thick as paneling nails!)
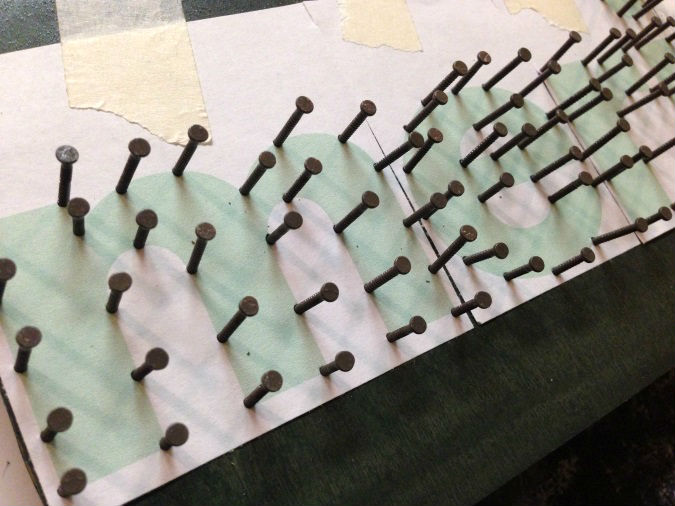
You develop a rhythm for where, and how far apart, to place the nails — especially if you’re doing 12 different signs like I was. As the same letters pop up again and again, you’ll remember, “Oh yeah! I remember “R”! You want to make sure you hit all the focal points of the curves, as well as the little serif tails of the lowercase “A”s and “N”s; having a nail there will be your anchor point as you’re wrapping the yarn, to make sure the distinct shape of each letter is visible.
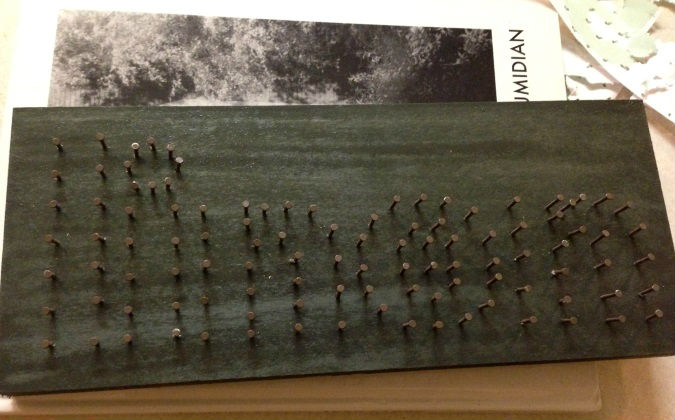
Then — remember to do this before starting to wrap your yarn! — rip out the paper from beneath the nails. A few little flecks may get wedged in with the nail here and there, so use a pair of small scissors to grab out whatever remaining pieces you can.
Then, it’s time to start wrapping the yarn. I used bamboo for all 12 of my signs, because I knew it would give me bright, bold colors with a nice sheen. I started by tying a simple knot around one of the nails at the corner where I was starting. To begin each letter, I’d trace the outline by wrapping the yarn once around each nail.
Then — there are no rules here, only intuition — I tried my best to connect every nail to each of the others that didn’t cross the outline border, so that no connections were missed.

Then at the very end, I’d wrap the outline once more (this time without wrapping the yarn around every single nail, just roughly tracing it with the yarn, and then finish by tying the yarn to the tail from the initial knot I started that letter with.
(This was a traveling project for me. I’d show up at my friend Kate’s house with my tote bag full of boards, hammer, nails, and yarn, and go to town while she worked on her wedding centerpieces.)
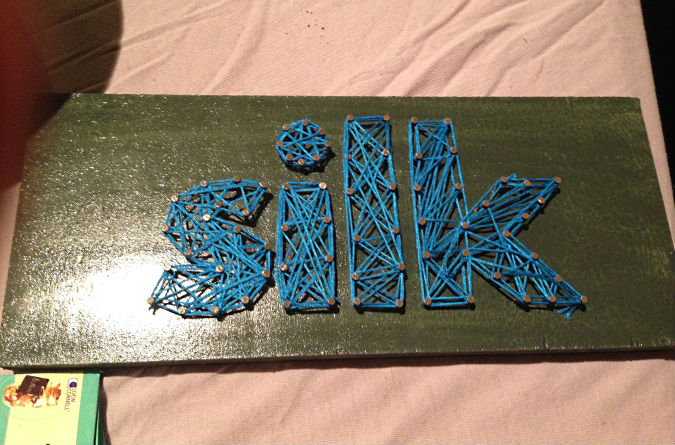
Et voila!