


How to start a circular crochet project…with no hole in the middle!
***Originally published December 16, 2011***
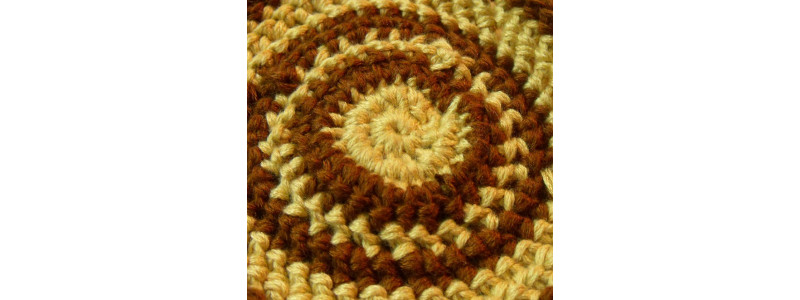
Let’s say you want to make a circular crochet project. Like let’s say, oh, coasters. Most crochet projects that begin from the inside and work their way out (think also, granny squares) begin by crocheting a chain, joining it, and then crocheting an uncomfortable number of stitches into that loop, from which your circle or square will then grow out of.
Here’s the tricky part: this method inevitably leaves you with a big hole right in the middle of your work, as these into-the-loop stitches tighten themselves around the original loop.

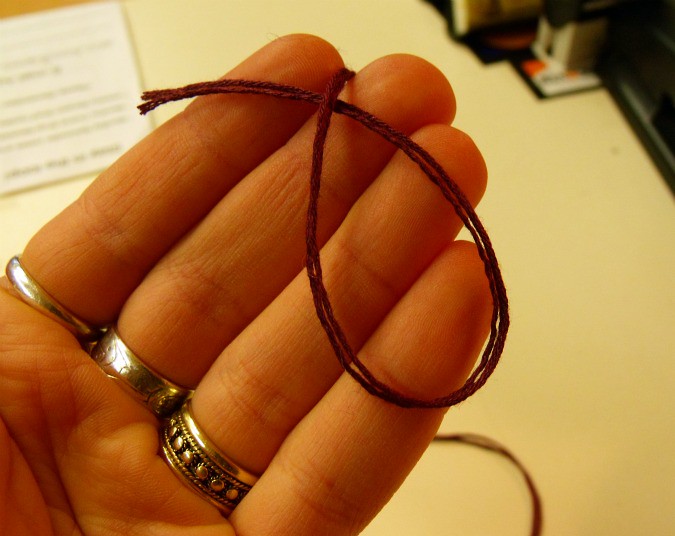
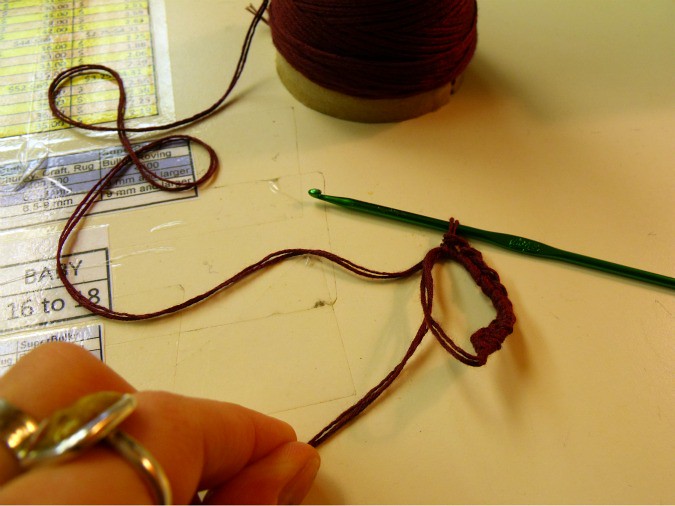
Here’s my favorite trick to closing up that pesky little hole. Start by making a loose little underhand knot. That is, hold your yarn with a short tail tucked beneath the working yarn, forming a loop.
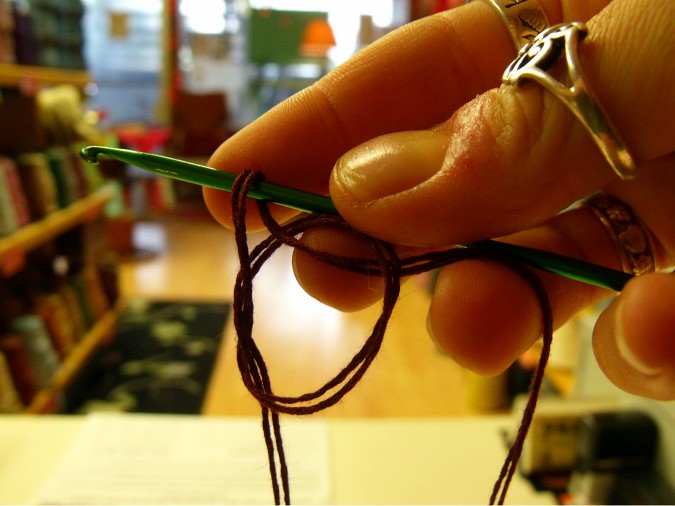
Then use your crochet hook to reach through this loop, and pull the working yarn through, forming the first stitch that you’ll be turning into a single crochet.

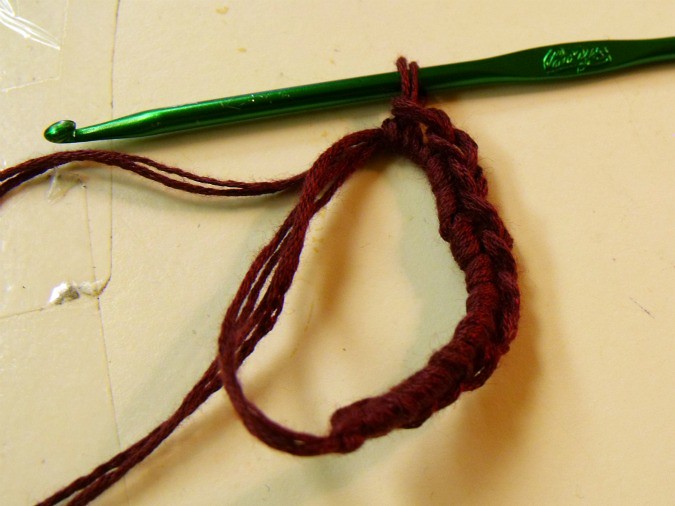
Begin single crocheting over both the working yarn and the tail together, until the desired number of stitches has been reached (in my case, 12).
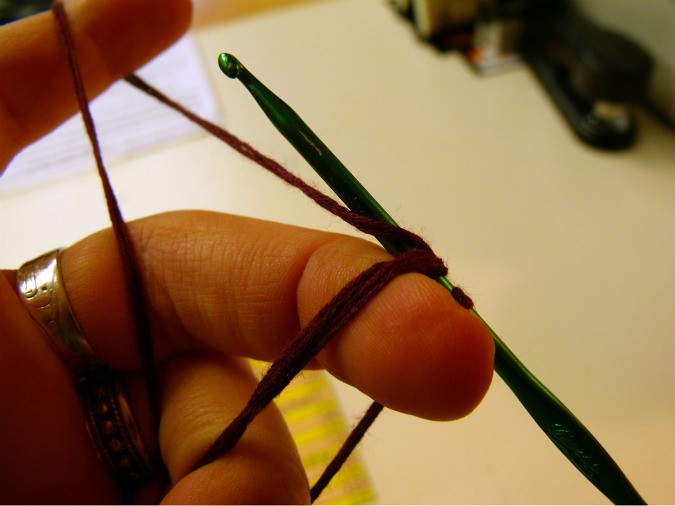
Don’t worry about whether your stitches are filling up the loop appropriately — with this method, it doesn’t matter!
Then, when you’re ready to close up your circle and move on to the next row, just give that tail a little tug…
Watch the stitches pull towards each other in a little closed circle, untwisting them as need be if they have accidentally turned the wrong direction…

And then pull the tail tightly to fully close the loop.

See how nice and clean that looks? No hole!
