


What Are Stitch Markers Used For?
- Posted on: 2024-01-15
- |
- Views: 3575
- |
- Category:
- ▸ Tips & Tricks
***Originally published May 20, 2011***
When I was in fourth grade, my math teacher had a catch phrase that he would repeat at least once every day, clearly imparting that if we were to walk away from Algebra II with any lasting knowledge, it should be this: “Mathematicians are lazy people.”
I think about this all the time, in fact:
- When I spend two hours designing a spreadsheet that will calculate payroll withholding
- When I hand-color a complicated cable chart so that instead of constantly decoding symbols, I can just glance at what “color” the next stitch is and know what that means
- Or when I design a cross-canceling set of ratios to arrive at the coefficient that will allow me to convert the European n/m yarn weight standard to yards per pound (496.05, FTW!)
- Pretty much any time I frontload some work which seems like a lot of extra effort, but that will save me time and hassle in the longrun.
This is how I feel about stitch markers. They’re certainly not necessary for most of the projects that call for them, but if you know how to use them in the right way, you’ll be saving yourself a TON of time, and headaches…I promise.
If you’re new to the world of knitting, you may find yourself trying
to wade through all these accessories and notions that come along with
it.
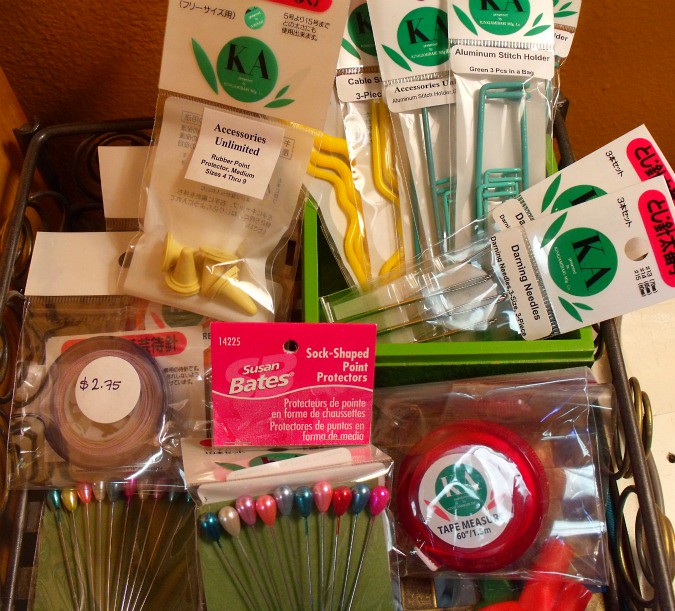
Stitch markers are the most commonly used among all these, and you’ve you’ve probably seen them referenced in nearly any pattern you’ve attempted. So what exactly are these things, and how do you use them?
There are two kinds of stitch markers: closed, and split.
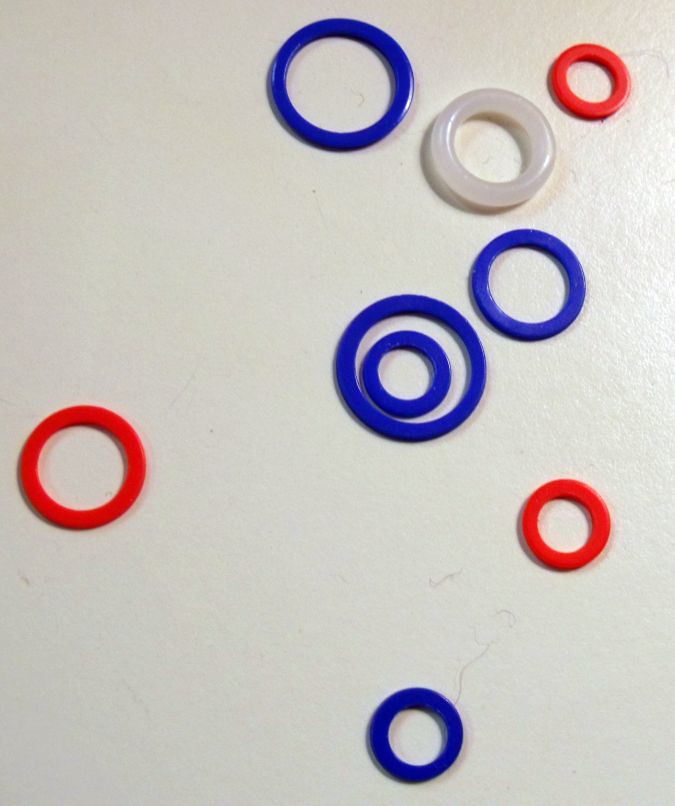
Closed stitch markers (various sizes)

Split stitch marker
These little rings just slip right onto your needle, in between stitches (or hanging off of the stitch itself, if you’re using split markers). Simply put, stitch markers are there to take the burden of counting off your shoulders.
Let’s say you’re working on a tank top, on a circular needle, with 140 stitches making up the circumference. When you get to the waist shaping, you’ll need to taper those 140 stitches down by decreasing on either side.

If you’re counting to 70 in your head in between each decrease, you’re making it too hard for yourself!
Instead, you can just count to 70 on your very first trip around the needles, toss a stitch marker on the needle, and then all you’ll need to remember is to decrease (K2tog) on each side of this marker, every time you pass it on each round. (When you get to the marker, all you need to do is slip it from one needle to the other.) Look at all the mental energy you’ve just freed up for listening to your favorite podcast while you knit!
So that’s the primary convenience of a stitch marker: it’s your signal to do something different from the norm, when you meet up with it on your needles.
But, stitch markers can also help you count. Let’s say you’re starting a big project, and you need to cast on 100 stitches. Sure you can keep track in your head as you go, but getting derailed after you’ve already cast on 50+ stitches can be a huge pain.

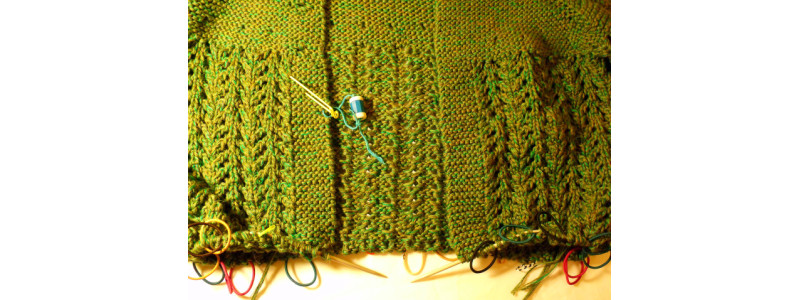
And finally, let’s talk about lace.
A lace chart like this one will show you one repeat of the lace pattern, and assume that you will repeat these 8 stitches over and over, until the end of the round.
Now of course it’s possible to work this lace chart without stitch markers, but think about how frustrating it would be to get to the end of a row of 160 stitches, and to realize that you have an extra two stitches unaccounted for — that means somewhere along the way your counting got off, and the pattern for that row will be shifted.

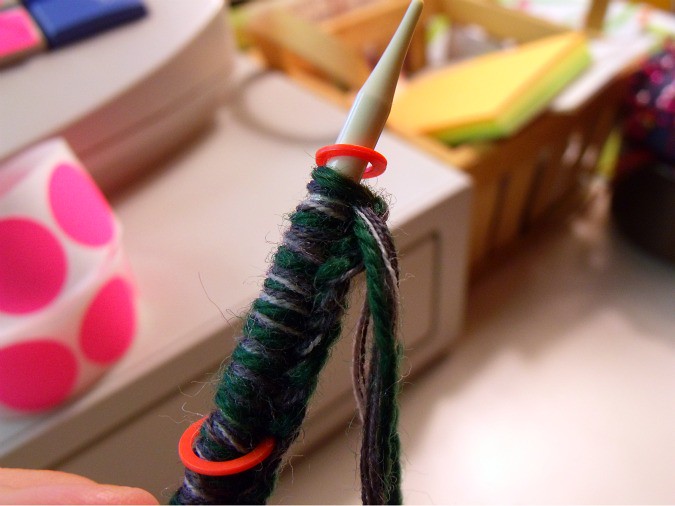
I have found myself stranded without a pack of stitch markers often enough to discover that hair elastics will do the trick just as well
However, if you place a stitch marker after each 8-stitch repeat, you can easily isolate the problem and spot where you went wrong. In fact, I find that just the act of placing and slipping the markers forces me to double-check every repeat and make sure I’m not off track.
Moral of the story? Add a pack of stitch markers to your knitting bag, stat. You won’t regret it.